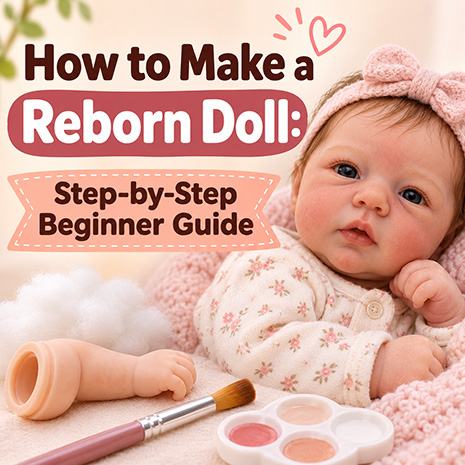
Learning how to make a reborn doll starts with choosing a manageable kit and understanding what it includes. A first project does not need every advanced realism technique. It needs compatible parts, a clear paint system, patient assembly and realistic expectations about the finish.
This beginner guide walks through the practical order of work, from selecting a vinyl kit to painting, assembling and dressing the finished doll. If you have not chosen supplies yet, compare beginner reborn doll kits before you buy.
Table of contents
Choose a beginner reborn doll kit
Start with a straightforward vinyl kit rather than a highly detailed or unusual sculpt. Check exactly what is included before ordering. Some listings contain only a head and limbs, while others add a cloth body, eyes or a simple outfit. A kit is not automatically a complete doll-making set.
- Vinyl parts: confirm whether the head, arms and legs are all included.
- Body: check whether a matching cloth body is included or needs to be chosen separately.
- Eyes: some sculpts use open eyes and need a compatible size, while sleeping sculpts do not.
- Finish level: choose blank parts if you want to learn painting, or partially finished parts if you want to focus on assembly and weighting first.
A smaller, clearly listed kit is usually easier to inspect and finish than a bargain bundle with vague photos. Read the individual product details, then use the reborn doll kits shop to compare practical starting options.
Gather compatible supplies before you begin
Use the paint, sealer and cleaning method recommended for the kit material. Vinyl kits, silicone parts and cloth bodies need different care, so do not assume one tutorial's materials will suit every doll. Keep the original product instructions beside you and follow their safety, ventilation and curing guidance.
Your first supply list will usually include the doll parts, the matching body if needed, compatible paint and finishing products, soft brushes or sponges, eyes for an open-eyed sculpt, filling or weighting material, a tool for securing the body, and clothes for the final fit check. Rooting hair is optional for a first project. Painted hair or a simple wig can keep the first build more manageable.
Prepare a clean, well-lit workspace
Lay out the parts where you can see their shape and keep dust, food and loose fibres away from the work area. Work in good light so you can judge colour layers and spot marks before they become harder to correct. Keep small parts such as eyes, cable ties and weighting materials out of reach of children and pets.
Before applying any product, test your planned method on a hidden area or spare material when the manufacturer allows it. This is particularly useful when you are learning how thin a paint layer should be or how a finish changes after curing. Rushing the setup stage often creates more work later.
Build paint and skin detail gradually
Realism comes from several light, controlled layers rather than one heavy coat. Follow the directions for your chosen paint system, including any drying or curing steps. Build colour slowly, review the result in natural-looking light, and stop when the doll looks balanced instead of trying to add every possible detail at once.
- Use light layers so the vinyl details remain visible.
- Compare both sides of the face and limbs before moving to the next stage.
- Keep notes on colours and products that work well for your kit.
- Let each stage finish as directed before handling it heavily.
Do not copy a paint formula blindly from another maker. Different kits, paint systems and desired skin tones need different choices. A beginner's strongest result is a clean, even finish that suits the sculpt.
Add eyes, hair and finish details
Fit eyes only when the sculpt and body instructions call for them, and check their position from the front before permanently securing anything. For hair, choose the method you can complete well. Carefully rooted hair can add realism, but it takes time and practice. A neat painted-hair finish or an appropriate wig is better than rushed rooting that will shed or sit unevenly.
Apply any final finish only with products designed for the material and in the order their instructions require. Handle the parts gently during this stage. The paint, finish and hair are more important to the final impression than an oversized accessory bundle.
Assemble and weight the doll carefully
Once the parts are ready, assemble the head, limbs and cloth body in the order specified for the kit. Add filling or weight gradually and check the balance as you go. The goal is a secure doll that is comfortable to hold, not the heaviest possible doll.
- Check that each limb moves naturally without straining the body.
- Secure ties, plugs and internal materials exactly as the kit instructions direct.
- Keep loose filling and small components contained inside the body.
- Recheck the finished weight before choosing it for a child or gift recipient.
A cloth-body doll should not be treated as a bath toy. If the finished doll is for display, choose a stable pose and keep the body supported when moving it.
Dress, photograph and review your first reborn doll
Dress the doll only after checking its length and body shape against the clothing size. Take a few photos in even light and inspect them closely. Photos reveal uneven colour, hair placement or a limb angle that is easy to miss while holding the doll.
Your first reborn is also a record of what to improve next. Write down which parts were hard to source, whether the kit description was clear, how the body fit and which step took the longest. That makes the next project easier and helps you choose better supplies.
Avoid common beginner mistakes
- Buying a parts-only kit while expecting a complete doll-making bundle.
- Using paint, sealer or adhesives without checking that they suit the kit material.
- Adding too much weight before testing how the doll balances.
- Rushing drying, curing or securing steps because the doll looks nearly finished.
- Choosing a complex rooting project before you are comfortable with the basic assembly.
For the craft background, read what reborning means. When you are ready to start, compare beginner reborn doll kits and choose one with clear part and body details.
Frequently Asked Questions
Yes. Start with a simple vinyl kit, a clear parts list and a compatible paint system. Focus first on clean assembly and a balanced finish rather than advanced hair rooting or highly detailed paint effects.
You usually need the doll parts, a matching body if the kit does not include one, compatible paint and finishing products, basic application tools, eyes for an open-eyed sculpt, body-securing materials and optional filling or weighting material. Check each kit because contents vary.
Not always. Some kits include only vinyl parts, while others include a cloth body, eyes or accessories. Read the listing carefully and make a supply list before ordering so you do not mistake a parts-only kit for a complete set.
The time varies with the kit, paint system, hair method and level of detail. Plan several sessions so each material can dry or cure as directed instead of rushing the finish.